Adding Geospatial Data from a Web Mapping Service (WMS)
MAGIC provides a WMS service to allow users using GIS software to connect to geospatial datasets within their GIS programs. The WMS server provides multiple options for viewing layers including as JPEG, PNG, KML, and more.
Data that is currently served on this server includes:
- 1997 Connecticut USGS topographic map mosaic
- Connecticut Historical Aerial Photography Indexes
- 1859 Connecticut Map by Clark and Tackabury
- Check out our complete listing of data layers
To access the data:
Users of ArcGIS 10.x
1. In ArcMap click on the add data button 
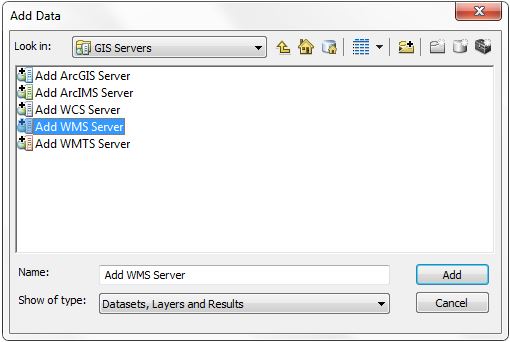
2. In the Add Data window select GIS Servers from the Catalog drop down window

3. In the Add Data GIS Servers Window select Add WMS Server and then click Add
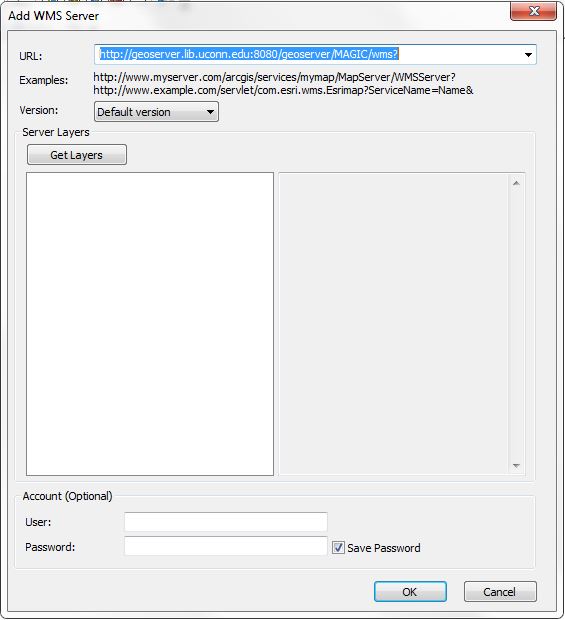
4. In the Add WMS Server Window enter MAGIC's WMS address in the URL window
MAGIC's WMS address - http://geoserver.lib.uconn.edu:8080/geoserver/MAGIC/wms?
Leave the Version window set as Default version and click OK
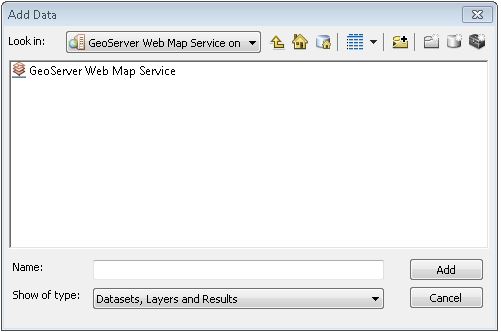
5. The GeoServer Web Map Service on geoserver.lib.uconn.edu_8080 server will appear in the GIS Servers window. Double click on the GeoServer Web Map Service on geoserver.lib.uconn.edu_8080 to add the WMS service.
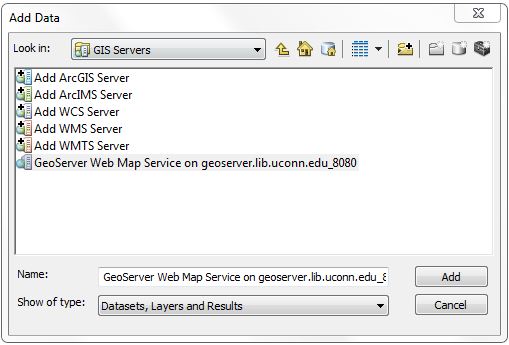
6. The GeoServer Web Map Service link will appear in the next window. Select GeoServer Web Map Service and click Add.
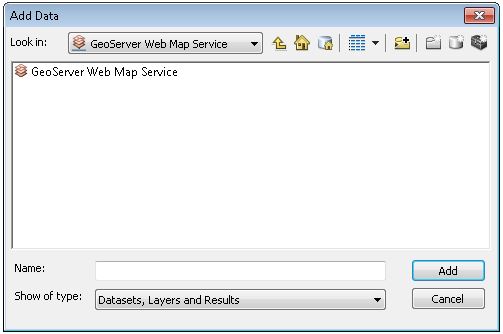
7. The next screen will prompt you again to add this service as the GeoServer Web Map Service link will appear in the next window. Select GeoServer Web Map Service and click Add.
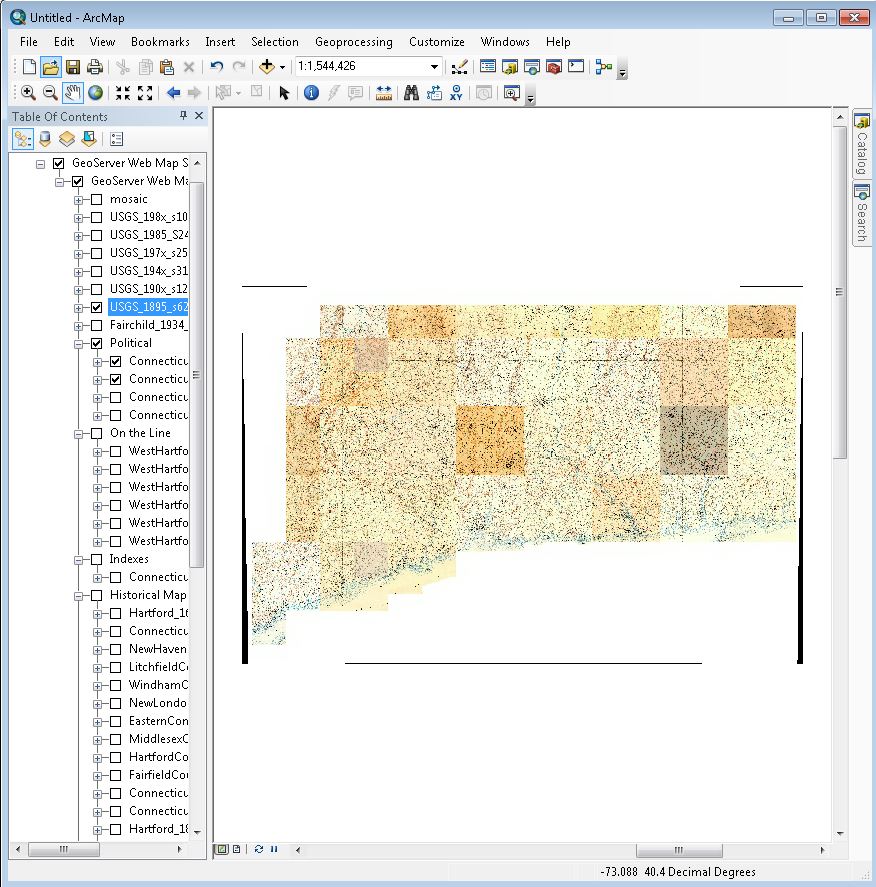
8. The WMS Layers will appear in the Table of Contents window in ArcGIS. You can turn on/off the layers by clicking the check box in front of each layer to view the layer. The user will be able to view the data but not query the information.